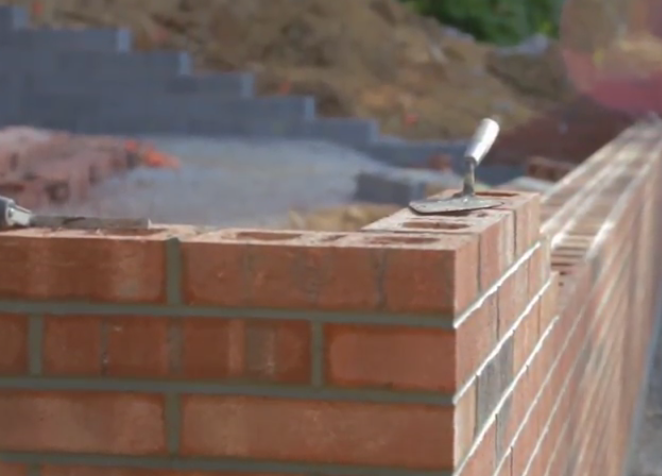
20 Brick Tips for Installers

Wherever you are working in North America at this time of year, the weather is most certainly changing! In many areas, we’re dealing with wetter and cooler temperatures.
With weather changes, the time is right to share some tips on not only keeping your worksite clean and protected, but also key details that will ensure a successful project!
Remember, no detail is too small in masonry work. The little things mean a lot!
- Install thru-wall flashing and weeps (at 24” o-c) above all openings and at the base of all walls.
- Provide a 1” clean airspace between the back of the brick and the wall envelope.
- Use a weather resistant barrier (WRB) installed from the bottom up and lapped 6”.
- Select the ‘softest’ mortar suitable for your application, typically type N for walls.
- Measure your mortar ingredients in calibrated containers – not with shovels.
- Use a proper jointing tool such as a concave or grapevine to finish and compact your mortar joints.
- Use brick ties per code requirements, typically at 16” x 16” spacing.
- Slope all window sills a minimum of 20° to shed water.
- Use flashing below all copings and caps.
- Project caps beyond the wall face at 1 ¼” – 1 ½” and use a drip notch.
- Keep the wall clean as the work progresses.
- Cover walls t the end of the day to prevent rain from entering the wall cavity.
- Use only brick products that are rated grade SW (Severe Weathering).
- Turn scaffold boards on side at end of your workday to prevent ‘splatter’ stains on your wall if it rains.
- Provide a 3/8” soft joint (filled with sealant) around windows to allow for brick expansion.
- Match expansion joint or soft joint sealant color to brick not the mortar.
- Spread straw at the base of walls to prevent mud splatter due to rain run-off from un-guttered roofs. (Especially important with light colored brick).
- Tool joints consistently when the mortar is “thumb print” hard, to prevent mortar striping.
- Caulk frieze board and trim.
- Ensure head joints are completely filled or fully ‘buttered’.
Keep in mind, our website offers product specific technical information and guides. Please visit our Technical Bulletins & Documents, Technical Drawings or Builder Notes for helpful documentation. Also, check out this recent video that includes an interesting feature on weather resistant home construction.
